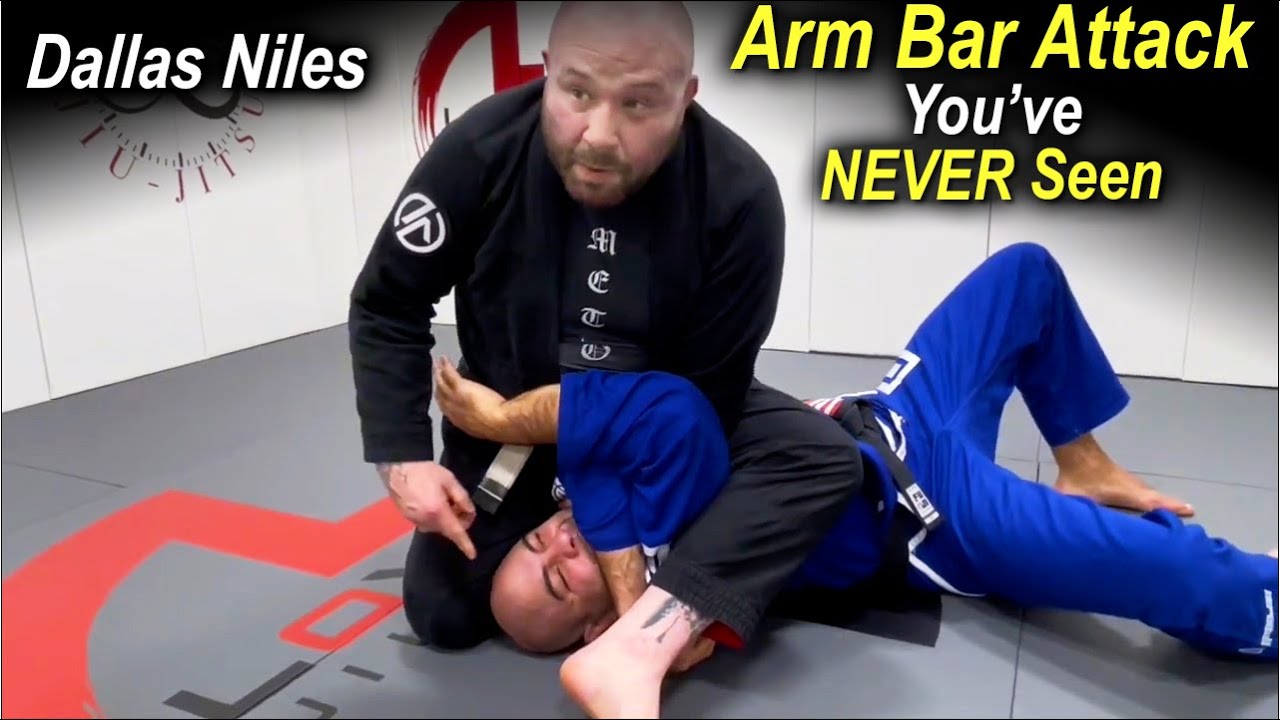
An arm triangle choke is a blood choke where you trap one of your partner's arms against their own neck, then wrap your arm around their head and that arm and close the gap with your shoulder. Their own shoulder presses one side of the neck, your arm presses the other, and the finish comes from angle and pressure rather than a hard squeeze.
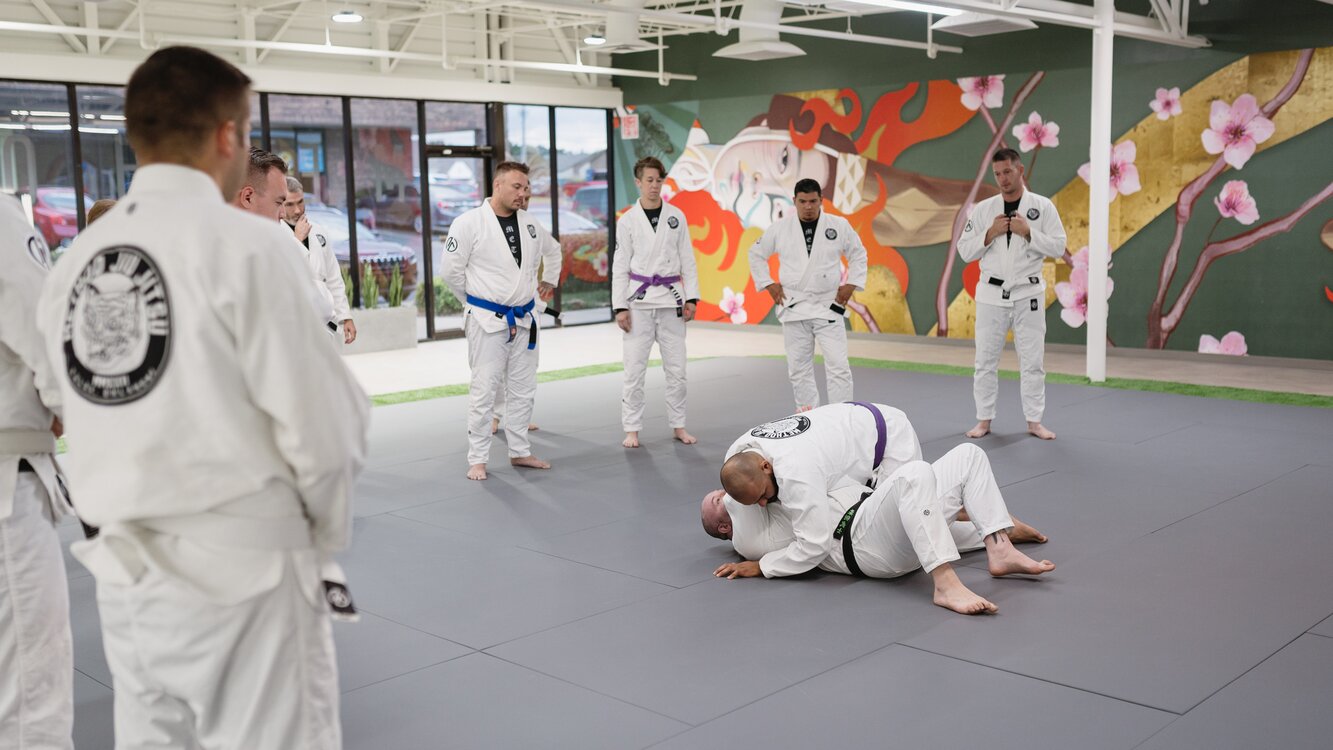
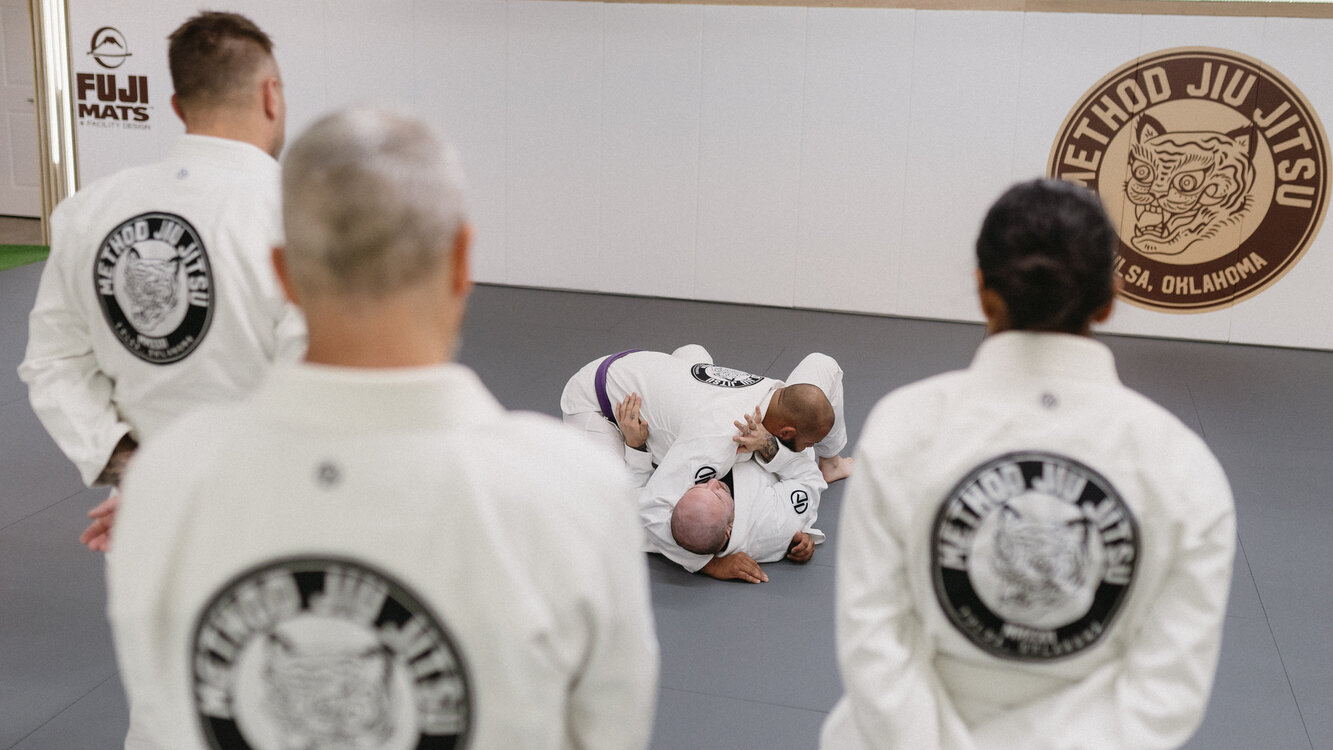
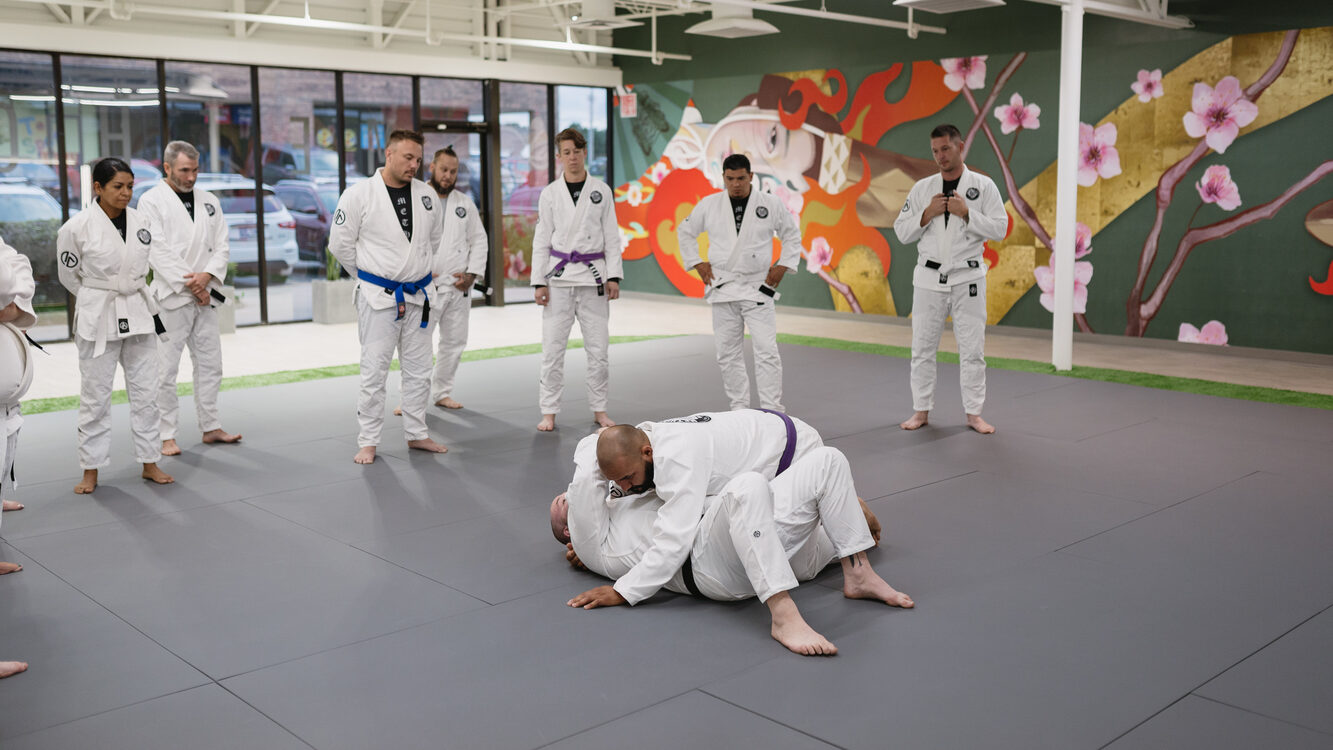
The photo above was taken during class at Method Jiu-Jitsu in South Tulsa. A purple belt has a black belt's arm pinned up beside his head, chest to chest, while the group watches. That head and arm control is where every arm triangle starts. Below, you will learn how to set it up, finish it, and defend it.
What Is an Arm Triangle Choke?
The arm triangle is a choke from top position. Your partner's own arm ends up pressed against one side of their neck while your shoulder drives into the other side. With both sides covered, blood flow through the neck is restricted, which is why it is called a blood choke rather than an air choke.
It mostly shows up from mount and side control. Our side control guide calls it one of the highest percentage submissions from that position, and we teach it alongside the kimura as one of the two primary attacks there. For the bigger picture of how chokes, joint locks, and leg attacks fit together, start with our BJJ submissions guide.
Arm Triangle, Head and Arm Choke, or Kata Gatame?
You will hear several names for the same choke, which confuses a lot of new students:
- Arm triangle describes the shape. Your arm, their arm, and their shoulder form a tight triangle around the neck.
- Head and arm choke describes what you trap: their head and one arm together inside your arms.
- Kata gatame is the judo name. It means shoulder hold, and in judo it is taught as a pin. Jiu-jitsu players mostly use it to finish.
The arm triangle is not the same as the triangle choke, which wraps your legs around your partner's neck and one arm from guard. Both trap one arm in with the neck, but you build one with your arms from the top and the other with your legs from the bottom. Our BJJ terminology glossary covers more of the names you will hear on the mat.
How the Arm Triangle Works
The arm triangle uses your partner's own shoulder as half of the choke, and you supply the other half. That is why a well executed arm triangle looks almost relaxed from the outside.
Three things have to happen:
- One arm in, one arm out. Their trapped arm is pushed up and across their face, so their upper arm and shoulder press against the side of their neck.
- No space. Your choking arm goes deep under their neck, and your head and chest pin the trapped arm so it cannot slide back out.
- The angle. You move your body off to the side of their trapped arm and drive your shoulder in. Squeezing with your biceps from a bad angle mostly crushes the jaw.
The choke uses your arms and their shoulder rather than grips on clothing, so it works the same in gi and no-gi jiu-jitsu, though sweat in no-gi makes a deep arm and a tight head pin even more important. Our gi vs no-gi guide covers the broader differences.
Because it restricts blood flow, a tight arm triangle can make someone lose consciousness quickly. In training, apply it slowly, give your partner time to tap, and let go the moment they do.
When the Arm Triangle Shows Up in a Roll
You rarely force an arm triangle out of nowhere. It usually appears when your partner gives you an arm while they are trying to escape:
- The straight arm push. From mount or side control, people push on your chest, neck, or face with a straight arm. That arm is easy to catch and drive across their face. It is the same habit we warn about in our guide to side control escapes.
- Frames that drift high. A forearm frame against your neck is good defense, but when their elbow floats up and away from their ribs, the arm can be pushed across.
- Bridging with long arms. During a big bridge from bottom mount, arms tend to float away from the body. Our guide on how to escape mount teaches the bottom player to keep their elbows in for exactly this reason.
It also shows up right after a pass. Many arm triangles start the moment you land in side control, before your partner has rebuilt their frames. Our guard passing roadmap covers how to get there.
Arm Triangle From Mount, Step by Step
Mount is a natural place to learn the arm triangle because your weight is already on top of your partner and their arms are often reaching up to push you.
- Get low and stable. Keep your knees tight to their hips and your chest heavy, so pushing feels like their only option.
- Catch the push. When they push your chest or neck with a straight arm, cup their elbow and drive that arm up and across their face.
- Pin the arm with your head. Drop your head to the mat on the far side of their head, so your head traps their arm against their face. Skip this step and the arm slides right back out.
- Thread your choking arm. Slide the arm on the same side as your head under their neck, deep enough that your shoulder presses into the side of their neck.
- Connect your hands. Many people use a palm to palm grip, and some prefer grabbing their own biceps. Use the grip your coach teaches and keep your elbows tight.
- Step off to the side of the trapped arm. Slide your leg over and drop into a low side control on the side their trapped arm comes from. Your head stays on the far side, so your body ends up angled across their chest.
- Finish with pressure. Drop your hips to the mat, walk them a little toward their head, and drive your shoulder in. Then hold the position and wait for the tap.
If your partner keeps their elbows tight and never gives you an arm, other mount attacks open up. Our breakdown of the armbar from mount is a good companion to this one.
Arm Triangle From Side Control, Step by Step
From side control, you are already on the right side to finish if your partner gives you their near arm, the arm on the side where you are.
- Keep them flat. Heavy chest pressure and a crossface, your shoulder driving across their jaw, keep them on their back and make them want to push you away.
- Catch the near arm. When they push your neck, shoulder, or face with their near arm, drive that elbow up and across their face.
- Move your head over. Bring your head across to the far side of their head, so your head pins their arm against their face.
- Thread and lock. Slide the arm closest to their head under their neck and connect your hands.
- Walk your hips up. Turn your hips toward their head, drop them low, and spread your legs wide for base. Your chest should be driving their trapped shoulder into their neck.
- Squeeze slowly. Drive your shoulder in and wait. If they can still turn toward you, you need more chest pressure and a deeper arm, not a harder squeeze.
If the arm you trapped is their far arm, you are on the wrong side to finish. Keep the head and arm pinned, step over into mount, and come off on the other side before you squeeze.
Arm Triangle From Top Half Guard
You can also lock the head and arm while you are still in your partner's half guard, usually when they push on your head or neck with an arm. The trouble is the finish. With one of your legs trapped, it is hard to get the angle, so the usual advice is to keep the head and arm locked as control, free your leg, and pass to side control before you finish.
If your partner digs for an underhook instead of pushing, that is often a better moment for the D'Arce choke, covered below.
Finishing the Arm Triangle: Angle, Pressure, and Patience
Plenty of arm triangles are locked correctly and finished badly. A few details make the difference:
- Hips low. Your hips should be heavy on the mat, not up in the air. High hips take weight off your shoulder.
- Head down. Keep your head on the mat or tight to their head. Lifting it gives the trapped arm room to escape.
- Walk, do not crank. Small steps with your feet toward their head tighten the choke more than squeezing harder.
- Shoulder, not biceps. The pressure should come from your shoulder driving across their neck. If your arms are doing all the work, your angle is off.
- Be patient. An arm triangle often takes a few seconds to tighten. Hold and adjust instead of spending everything on one big squeeze.
Common Arm Triangle Mistakes
- Finishing from mount. Staying square on top usually puts the pressure on the jaw instead of the neck. Step off to the side of the trapped arm. If you feel their jaw, fix the position instead of squeezing harder, which only hurts your partner.
- A shallow arm. If your choking arm is only halfway under their neck, there is nothing to squeeze. Go deep before you lock your hands.
- Rushing the squeeze. Squeezing before the arm is pinned wastes energy and gives them time to pull it back out.
- Letting them turn in. If they turn their hips toward you, the choke loosens. Chest pressure keeps them flat.
- Forgetting your base. Feet close together make you easy to roll. Spread them wide when you finish.
Arm Triangle vs D'Arce and Anaconda Chokes
The D'Arce and anaconda are cousins of the arm triangle. In all three, your partner's head and one arm end up trapped together, and their own shoulder closes one side of their neck. The difference is where each one starts:
- Arm triangle: chest to chest from mount, side control, or top half guard. Your arm wraps behind their neck.
- D'Arce: usually from top half guard or a front headlock, often when your partner reaches for an underhook. Your arm threads under their arm and in front of their neck before you lock your grip.
- Anaconda: from a front headlock. Your arm goes under their neck and through their armpit, and you usually roll to finish.
If you like attacking from the front headlock, which comes up a lot when your partner is in turtle, the D'Arce and anaconda are natural next steps.
How to Defend the Arm Triangle
Defending the arm triangle is mostly about not giving your arm away in the first place.
- Keep your elbows in. Tight elbows are hard to push across your face. It is the same survival posture that makes side control escapes and mount escapes work.
- Frame with bent arms. Push with your forearm, not a straight arm, so your elbow stays low and close to your body.
- Turn in early. If your partner gets their head next to yours, turn toward them and keep the hand of the threatened arm by your own ear, like you are answering a phone. That keeps a little space between your neck and their arm.
- Stop the angle. Hooking their leg with yours, or recovering half guard, makes it much harder for them to step off to the finishing side.
- Tap early. Once their grip is locked, their head is down, and they are walking to the side, the choke is usually tight. There is no prize for waiting. Tap, reset, and work on your early defense next round.
If you never leave an arm hanging out, the arm triangle has nothing to grab.
How to Drill the Arm Triangle Safely
Chokes are part of everyday training at a good gym, and a few habits keep them safe for everyone.
- Drill the shape first. Practice catching the arm, pinning it with your head, threading your arm, and stepping off, without squeezing at all.
- Add the squeeze slowly. When you add the finish, apply pressure gradually so your partner has time to tap.
- Run positional rounds. Start in mount or side control. The top person works for the head and arm control while the bottom person keeps their elbows in. Our sparring guide for beginners explains how these rounds work.
- Switch roles. Spend as much time defending as attacking. Feeling the setup from the bottom teaches you what tight really means.
Tap early, and let go the moment your partner taps. Our guides to BJJ etiquette and whether BJJ is safe cover the habits that keep training partners healthy, and our drilling guide has more ideas for turning reps into reactions.
Frequently Asked Questions About the Arm Triangle
What is an arm triangle choke in BJJ?
An arm triangle choke is a blood choke where you trap one of your partner's arms against their own neck and wrap your arm around their head and that arm. Their own shoulder presses one side of the neck while your arm and shoulder press the other. It is usually finished from mount or side control, and it is also called the head and arm choke or kata gatame.
Is a head and arm choke the same as an arm triangle?
Yes. Head and arm choke, arm triangle, and kata gatame are names for the same submission. Kata gatame is the judo name, where the same shape is taught as a pin called the shoulder hold. The regular triangle choke is a different technique that uses your legs from guard.
What is the difference between an arm triangle and a D'Arce choke?
Both trap your partner's head and one arm together, but they start in different places. The arm triangle is applied chest to chest from mount or side control, with your arm wrapped behind their neck. The D'Arce usually starts from top half guard or a front headlock, with your arm threaded under their arm and in front of their neck before you lock your grip.
Why can't I finish the arm triangle?
Most failed arm triangles come from finishing square on top in mount, leaving space between your shoulder and their neck, or squeezing with your arms before the angle is set. Pin their arm with your head on the far side, step off to the side of their trapped arm, drop your hips, and drive your shoulder in slowly. If you feel their jaw instead of their neck, fix the position instead of squeezing harder.
Where can I learn the arm triangle in Tulsa?
Method Jiu-Jitsu in South Tulsa teaches side control as a connected system, with the arm triangle and kimura as its primary submissions. New students start in Fundamentals, where the first week covers how to fall safely, how to move on the ground, and the basic positions of guard, mount, side control, and back. Fundamentals meet Monday and Wednesday at 5:30 PM, your first class is free, and every membership includes a premium Method Jiu-Jitsu gi.
Learn the Arm Triangle at Method Jiu-Jitsu in South Tulsa
The arm triangle is a technique you learn by feel. A coach can tell in seconds whether your head is in the right place or your hips are too high, and that kind of feedback is hard to get on your own.
New students start in our Fundamentals program, which begins with how to fall safely, how to move on the ground, and the basic positions, including mount and side control. Fundamentals meet Monday and Wednesday at 5:30 PM. The class schedule lists every other adult, kids, competition, and open mat session, and you can read about our head instructor, black belt Dallas Niles, before your first visit. If you plan to compete, see our competition training. Whether you are brand new or working toward your next belt, the arm triangle is worth the reps.
Method Jiu-Jitsu is located at 8011 S Sheridan Rd, Suite B, Tulsa, OK 74133, in South Tulsa, a short drive from Broken Arrow, Jenks, and Bixby. Every membership includes a premium Method Jiu-Jitsu gi. Book your free first class, read what to expect at your first class, or call us at (918) 995-4692. New to the sport? Start with what Brazilian jiu-jitsu is, or browse all of our programs.